CAUTION: As one who has undergone lung surgery, I can tell you that the best money you can spend is on the proper safety equipment. Do Not breath the dust of your fiberglass project!
Click on thumbnails below to see full size images.
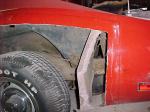
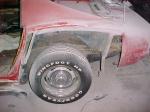
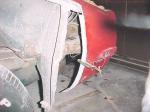
- Images 1-3 just looking.... and nervously holding my breath. I can't believe I'm butchering this nice car.
- Images 4-5 show the first cut. Look past the cut to see the layout line about 1-1/2" away. I temporarily "screwed" the panel over the existing fender to insure fit and alignment of the peaks. When satisfied, I marked around the new panel.
- Image 6 shows the final cut. (note: Save the 1-1/2" strips for use as backing strips.) You can see the horizontal bonding strip now exposed at the top of the cutout. Also visible are the two vertical bulkheads.
- Images 7-9 show the panel being fit into the opening using bolts and washers in the seams. Notice there is a visible gap all around that will be filled with fiberglass. This is the time examine the inside for proper contact with the bonding strips on the bulkheads.
- Image 10 (the curved white piece laying on the fender) is a new backing (bonding) strip. Remember when I said to save the 1-1/2" strip in the cut-out? This is the vertical piece and it conforms perfectly to the shape of the body panel. I removed all paint and sanded it down to bare fiberglass.
- Images 11-15 show the new strip clamped and bonded in to place using panel adhesive.
- Images 16-18 have the flare panel installed and bonded in place. You can still see the screw holes that used instead of clamps to pull the joint tight during the bonding process. Use a liberal amount of adhesive on all contact surfaces.Notice that once the bonding was cured, the surface of the flare panel and the existing panel were ground creating a valley about 1/8" to 3/16" deep at the center of the seam. This valley will be the bed for the multiple layers of fiberglass matte and resin in the next step.
- Image 19-20 has the fiberglass installed. Note the drip cloth used to mask the area below the seam. I cut 3 strips of matte long enough to run the entire seam (horizontal or vertical) and made them varied widths from 3/4" to 2-1/2". Using a piece of aluminum foil as a work surface, all strips were saturated with mixed resin using a disposable (cheap) paint brush. The strips, starting with the narrowest were layed into the valley then positioned and pressed with a plastic squeegy and then rolled to remove all air bubbles.
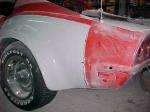
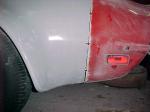
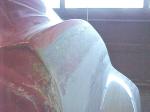
- That rest of the pictures demonstrate the resulting body surface and repaired curvature when sanded.
- When the exterior was complete, I removed the wheels and fiberglassed all contact areas of the panel to the bulkheads. (not shown)
 |


 | |||
 |

 | |||
 |


 | |||
 |


 |  |
||


 |